[Open Source Liquibase] Installation on Mac&Windows and how to use it with Oracle Database (on-premise & cloud)
![[Open Source Liquibase] Installation on Mac&Windows and how to use it with Oracle Database (on-premise & cloud)](/_next/image?url=https%3A%2F%2Fcdn.hashnode.com%2Fres%2Fhashnode%2Fimage%2Fstock%2Funsplash%2FAIIC6wCqkQc%2Fupload%2F52c9001ba7004a767347c7b7fb21dd30.jpeg&w=3840&q=75)
Oracle APEX & PL/SQL Developer with 10 years of experience in IT, including financial systems for government administration, energy, banking and logistics industry. Enthusiast of database automation. Oracle ACE Associate. Certified Liquibase database versioning tool fan. Speaker at Kscope, APEX World, SOUG, HrOUG, POUG and DOAG. Likes swimming in icy cold lakes in winter and playing basketball.
This blog gathers together all you need to install standalone Open-Source Liquibase 4.25.1, configure it and use it with your Oracle databases - both on-premise and OCI Cloud (ATP, ADW, etc.)
These instructions cover MacOS & Windows.
See my other article for the Oracle SQLcl installation guide (SQLcl has Open SOurce Liquibase 4.18.0 included - no need for a separate installation).
Installation steps for macOS
tested at MacbokPro with M1 Sonoma 14.2.1
Open Source Liquibase 4.25.1
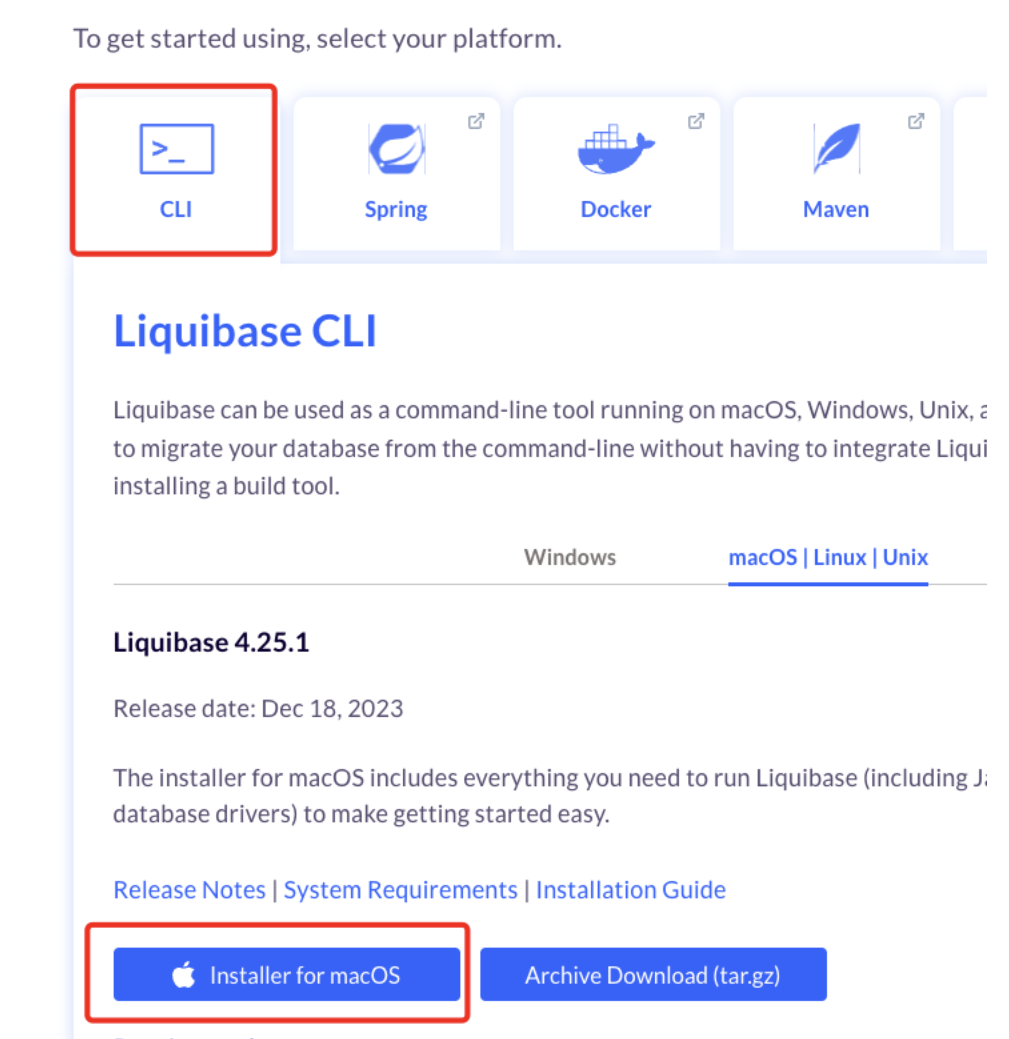
Go to the Liquibase website and download the latest version of Liquibase.
Choose an installer for macOS (it has Java and the most popular database drivers inside, including OJDBC driver for Oracle Database)
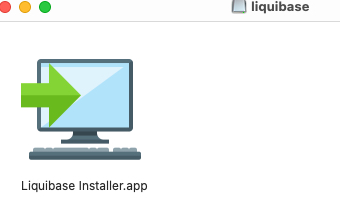
Double-click on the downloaded installer.
Select a directory where you want to store your liquibase installation files. I chose /Users/rg/apps/
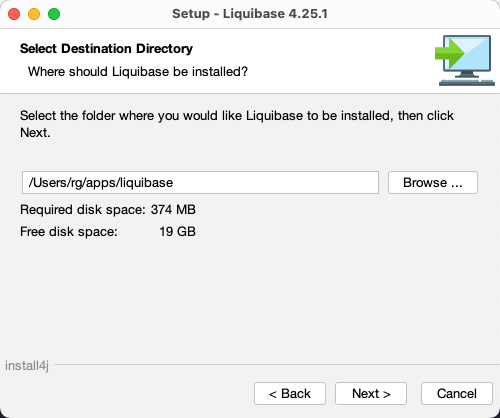
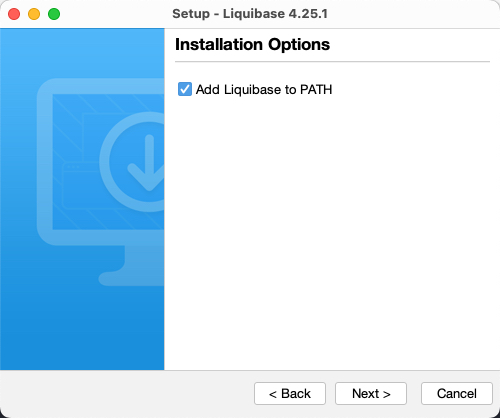
Select "Add Liquibase to PATH" - thanks to this, you won't have to add it manually.
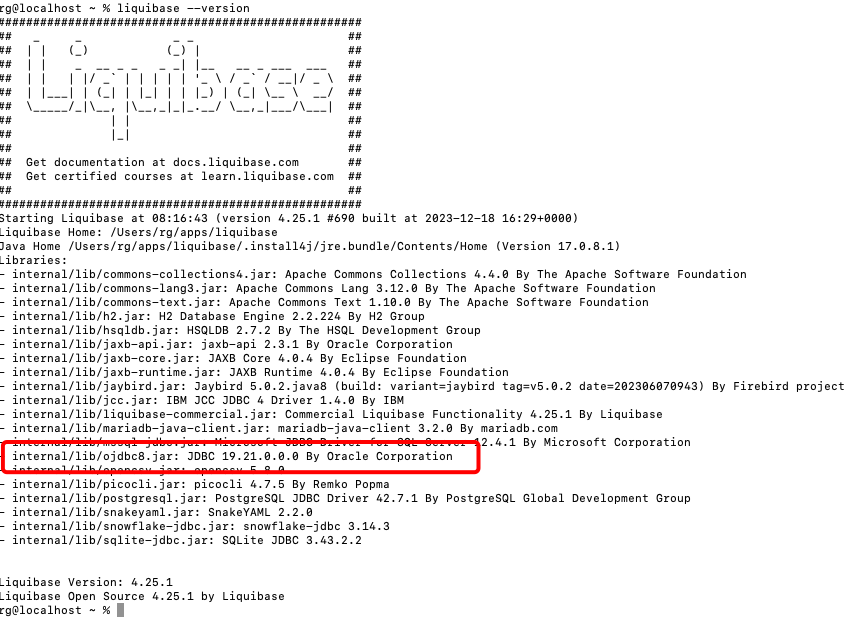
Verify if Liquibase is installed. Open your terminal and type liquibase --version.
As you can see, Oracle OJDBC and many other database vendors' drivers are already there:
Check your automatically added path in the .zshrc file (default Z-Shell for macOS).
Go to -> [Your_username]/.zshrc file
If you don't see this file, you must unhide it by "Shift+Command + ."

Installation steps for Windows
tested with Windows 11
Open Source Liquibase 4.25.1
Go to the Liquibase website and download the latest version of Liquibase.
Choose an installer for Windows (it has Java and the most popular database drivers inside, including OJDBC driver for Oracle Database).

Install it.
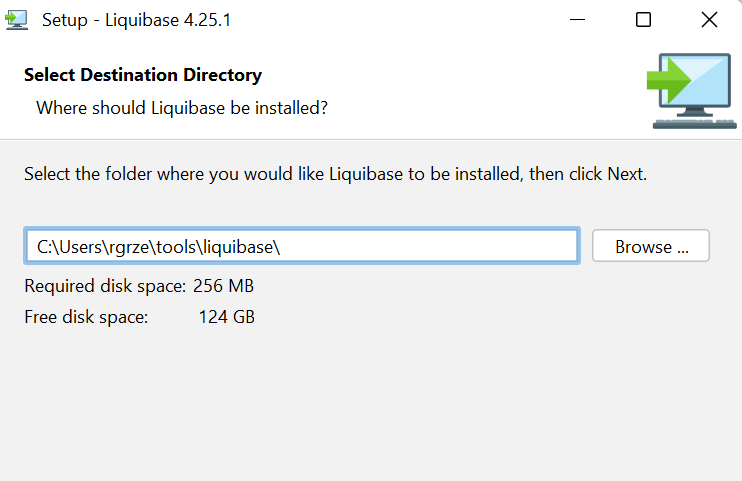
Select a location to store Liquibase installation files. I chose C:\Users\rgrze\tools\ folder.
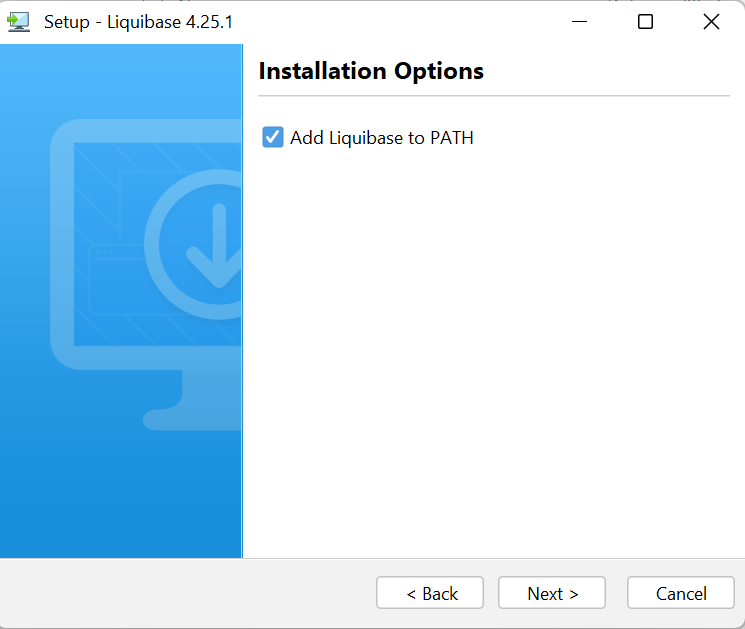
Select "Add Liquibase to PATH" - thanks to this, you won't have to add it manually.
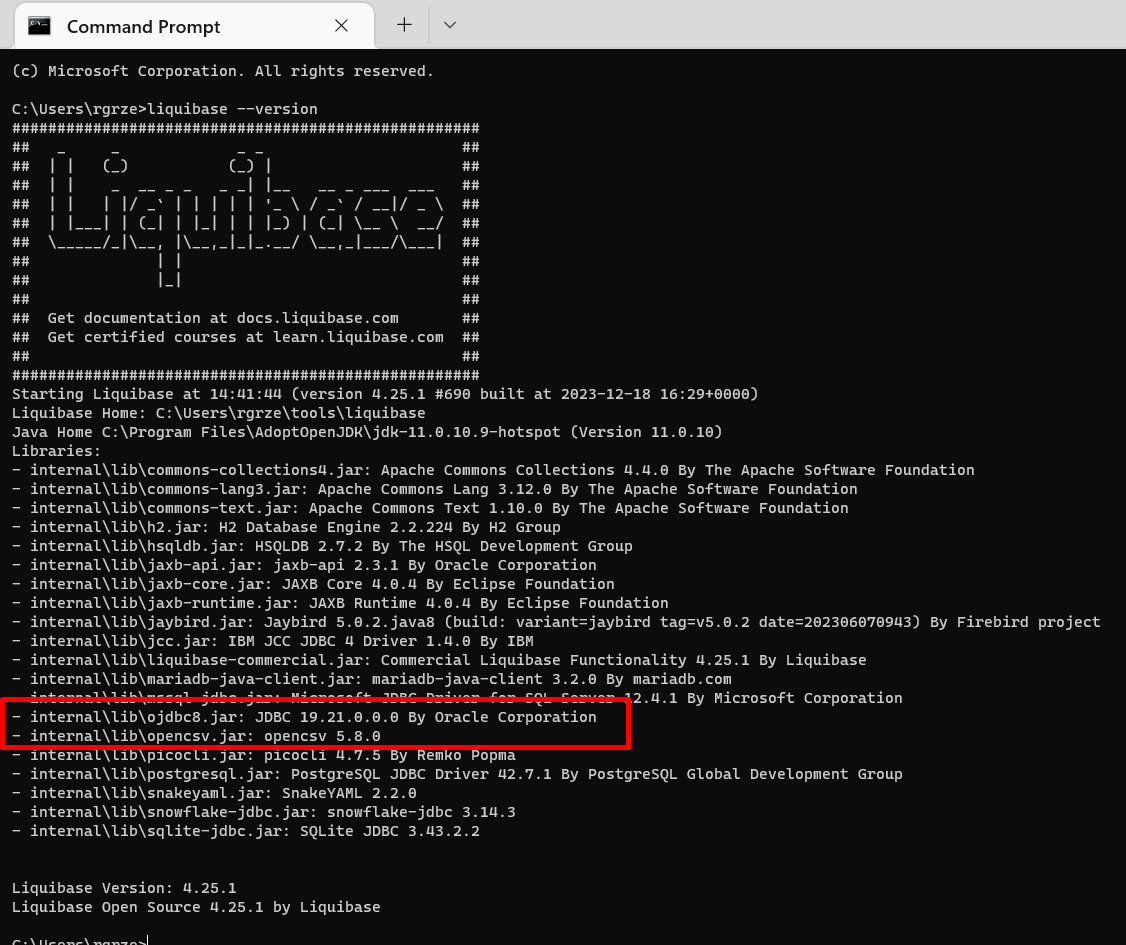
Verify if Liquibase is installed. Open your terminal and type liquibase --version.
As you can see, Oracle OJDBC and many other database vendors' drivers are already there:
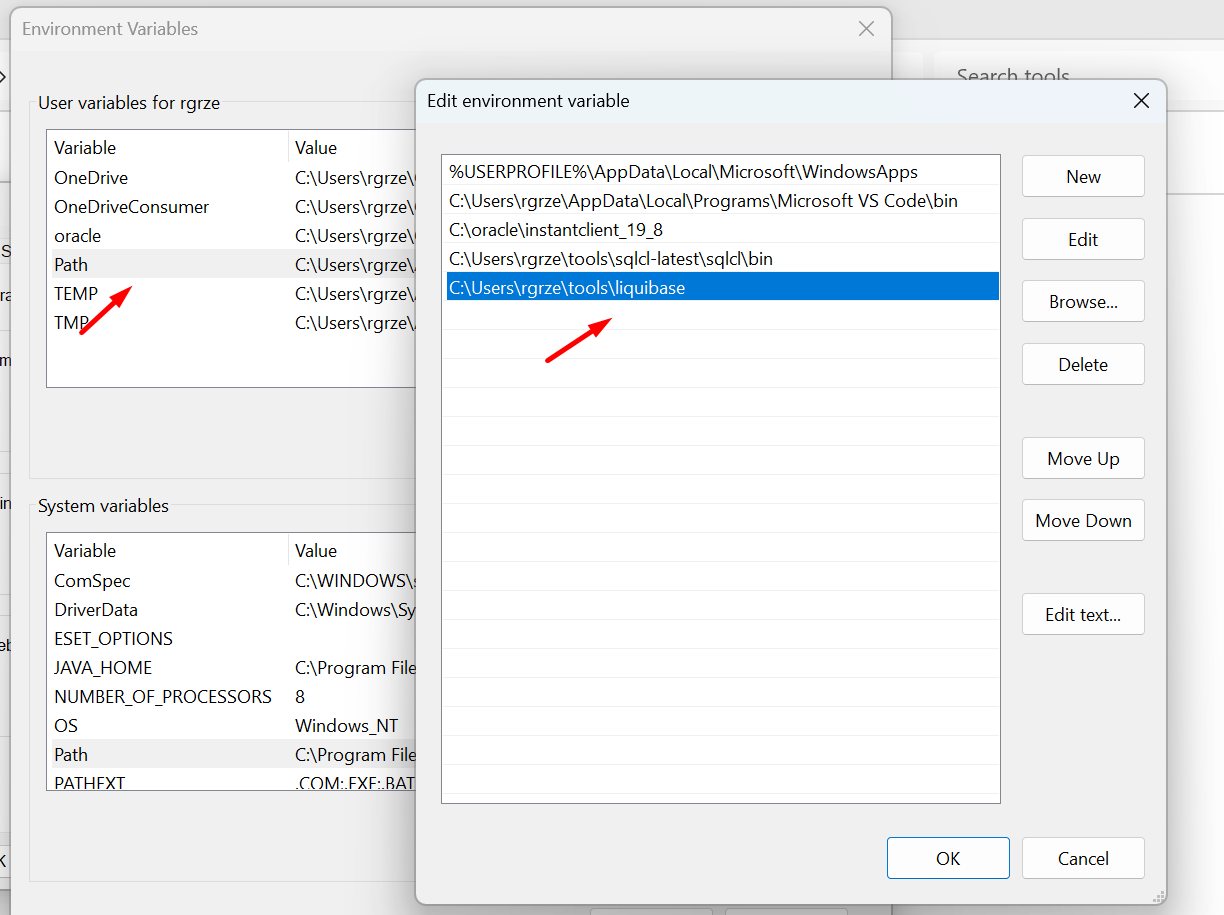
Check your environment variables - the path was added automatically!
Configuration for usage with Oracle databases: on-premise & cloud
When using SQLcl Liquibase, you don't need that file - and that's because SQLcl is dedicated to Oracle Databases only.
However, you are reading this blog, so you already decided to use standalone Liquibase. Then, you must configure this file (standalone Liquibase can work with most available database vendors). An example file is included in the Liquibase installation folder. For me, it's in /liquibase/examples/
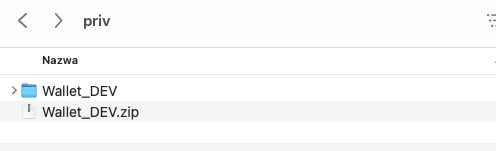
My example repository with changelogs looks like this:
And that will be my default location for the liquibase.properties file.
Let's make some tweaks to connect to the Oracle Database.
Oracle Cloud Autonomous Database (ATP, ADW) using Oracle Wallet
Step 1: Download OCI wallet (macOS & Windows)
log into your OCI account and download your instance or regional wallet
remember the password you provided, as you will need it later in this article
save wallet
I saved it in /Users/rg/apps/oracle/wallets/privs
Unpack wallet folder
It should look like this ("DEV" is my instance name in OCI)
Step 2: Modify ojdbc.properties file (MacOs & Windows)
Open file [your_wallet]/ojdbc.properties
Make sure this line is commented:
oracle.net.wallet_location=(SOURCE=(METHOD=FILE)(METHOD_DATA=(DIRECTORY=${TNS_ADMIN})))
Uncomment the last four lines, and replace <password_from_console> with a password you chose while downloading a wallet from the OCI console.
This should be your final version of the ojdbc.properties file:
# Connection property while using Oracle wallets.
#oracle.net.wallet_location=(SOURCE=(METHOD=FILE)(METHOD_DATA=(DIRECTORY=${TNS_ADMIN})))
# FOLLOW THESE STEPS FOR USING JKS
# (1) Uncomment the following properties to use JKS.
# (2) Comment out the oracle.net.wallet_location property above
# (3) Set the correct password for both trustStorePassword and keyStorePassword.
# It's the password you specified when downloading the wallet from OCI Console or the Service Console.
javax.net.ssl.trustStore=${TNS_ADMIN}/truststore.jks
javax.net.ssl.trustStorePassword=<password_from_console>
javax.net.ssl.keyStore=${TNS_ADMIN}/keystore.jks
javax.net.ssl.keyStorePassword=<password_from_console>
Step 3: Configure liquibase.properties file (macOS & Windows)
- Go to your liquibase.properties file and add your database URL, username and password
For macOS:
As a final result, your file should look like this:
# Enter the path for your changelog file.
changeLogFile=controller.xml

#### Enter the Target database 'url' information  ####
url: jdbc:oracle:thin:@dev_low?TNS_ADMIN=/Users/rg/apps/oracle/wallets/priv/Wallet_DEV

# Enter the username for your Target database.
liquibase.command.username: <your_database_username>

# Enter the password for your Target database.
liquibase.command.password: <your_database_username>

#OJDBC driver localization
# its included in Liquibase installation foldr, but If you want to make sure all developers use same file you can put it in your repository and specify classpath
#classpath: ojdbc8.jar
For Windows:
# Enter the path for your changelog file.
changeLogFile=controller.xml

#### Enter the Target database 'url' information  ####
url: jdbc:oracle:thin:@dev_low?TNS_ADMIN=C://Users//rgrze//tools//wallets//Wallet_DEV

# Enter the username for your Target database.
liquibase.command.username: <your_database_username>

# Enter the password for your Target database.
liquibase.command.password: <your_database_username>

#OJDBC driver localization
# its included in Liquibase installation foldr, but If you want to make sure all developers use same file you can put it in your repository and specify classpath
#classpath: ojdbc8.jar
The main difference is how you specify the path to your wallet.
On-premise Oracle Database (without wallet)
Good news. You don't need to download wallets and modify anything in the ojdbc.properties file.
Step 1 and only one: Prepare liquibase.properties file (macOS&Windows)
Change the way you define URL. Everything else is the same as for the Cloud Database.
# Enter the path for your changelog file.
changeLogFile=controller.xml

#### Enter the Target database 'url' information  ####
url: jdbc:oracle:thin:@127.0.0.1:1521/XE

# Enter the username for your Target database.
liquibase.command.username: <your_database_username>

# Enter the password for your Target database.
liquibase.command.password: <your_database_username>

#OJDBC driver localization
# its included in Liquibase installation foldr, but If you want to make sure all developers use same file you can put it in your repository and specify classpath
#classpath: ojdbc8.jar
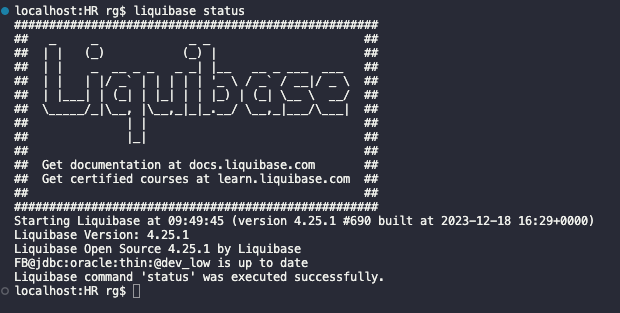
Test your connection
Ensure you have controller.xml prepared. It can be empty (without changesets) for this test.
  <?xml version="1.0" encoding="UTF-8"?>
  <databaseChangeLog
          xmlns="http://www.liquibase.org/xml/ns/dbchangelog"
          xmlns:xsi="http://www.w3.org/2001/XMLSchema-instance"
          xmlns:n0="http://www.oracle.com/xml/ns/dbchangelog-ext"
          xsi:schemaLocation="http://www.liquibase.org/xml/ns/dbchangelog
          http://www.liquibase.org/xml/ns/dbchangelog/dbchangelog-latest.xsd">
  </databaseChangeLog>
Test connection by typing liquibase status
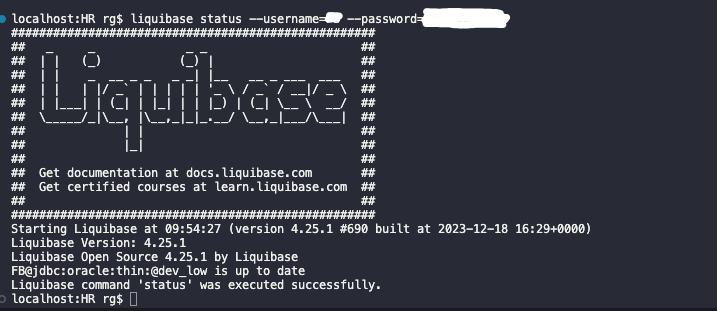
Make sure you run Liquibase commands from the same location where your liquibase.properties file is. Otherwise, you need to specify the path by:
liquibase status --defaults-file=[path_to_file]/liquibase.properties
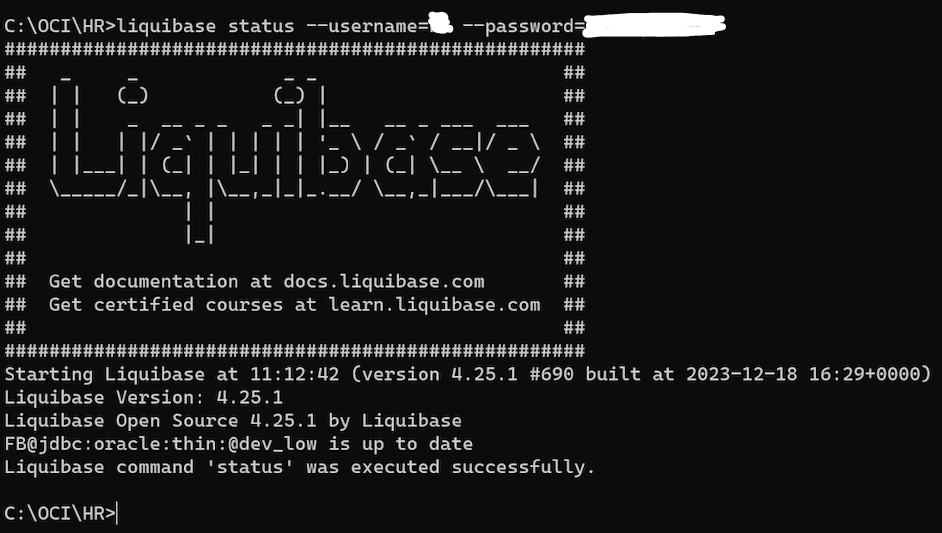
If you don't want to store the password or/and username in the liquibase.properties file, remove it from the file and test your liquibase by typing
liquibase --status --username=YOUR_USER --password=YOUR_PASSWORD
Potential problems
The most common issue that can occur while connecting to a Cloud Database is "A connection could not be created to (..)." to solve it, try this:
check your wallet path,
check your wallet password,
re-download your wallet
Use standalone Liquibase to deploy SQLcl changesets
If you want to use standalone Liquibase, you can still deploy changesets generated by Oracle SQLcl. To do this you need to do some simple tweaks. Just follow this quick tutorial from SQLcl documentation
How to install Oracle's SQLcl Liquibase - just read my step-by-step tutorial.
Configure Liquibase for UTF-8 encoding (Windows users)
Read this tutorial.
More about standalone Liquibase
Don't use SYS / ADMIN users to connect to your database with Liquibase. Think of creating a special user for that. Read my blog here.
Liquibase documentation
Liquibase University (Free)
Pretius blogs: